Follow me!

Follow me on Facebook! Get great kitchen tips, snacks, nutrition articles and more. Go To:http://www.facebook.com/#!/pages/Primal-Mama-Cooks-and-dishes-on-life/279450101397?ref=ts

Thursday, December 15, 2011


I love a great success story. I love it even more when it has to do with the successful entrapreneurship of an 11-year old girl. I met Eva for the first time at our gym's B4B event in October. She is outgoing, beautiful and the future face of CrossFit. At 11 years old she knows what it means to be strong and healthy. I can tell she is a trailblazer. What makes Eva so unique at her age is that she already has a mind for business. You see...she's a bee keeper. Just the thought of getting that close to bees gives me chills. But with the help of her dad, Eva harvests honey up to four times per year. She and her sister label and bottle the raw honey. This honey is pure, unprocessed and never touched by human hands! I wanted to create a special recipe in Eva's honor. One that would showcase her hard work and at the same time be subtle enough to taste a variety of flavors. And so Eva's Honey banana pancakes were born!


What you'll need:


3 eggs

1tsp vanilla

1 tsp honey (of course I use Eva's!)

1 super ripe banana

1/4 cup coconut milk

3T coconut oil

1/2 cup coconut flour

1tsp baking powder

1/2 tsp sea salt

A couple of spoons of coconut milk refrigerated until solid (must be full fat!)

Fresh berries


What you do:


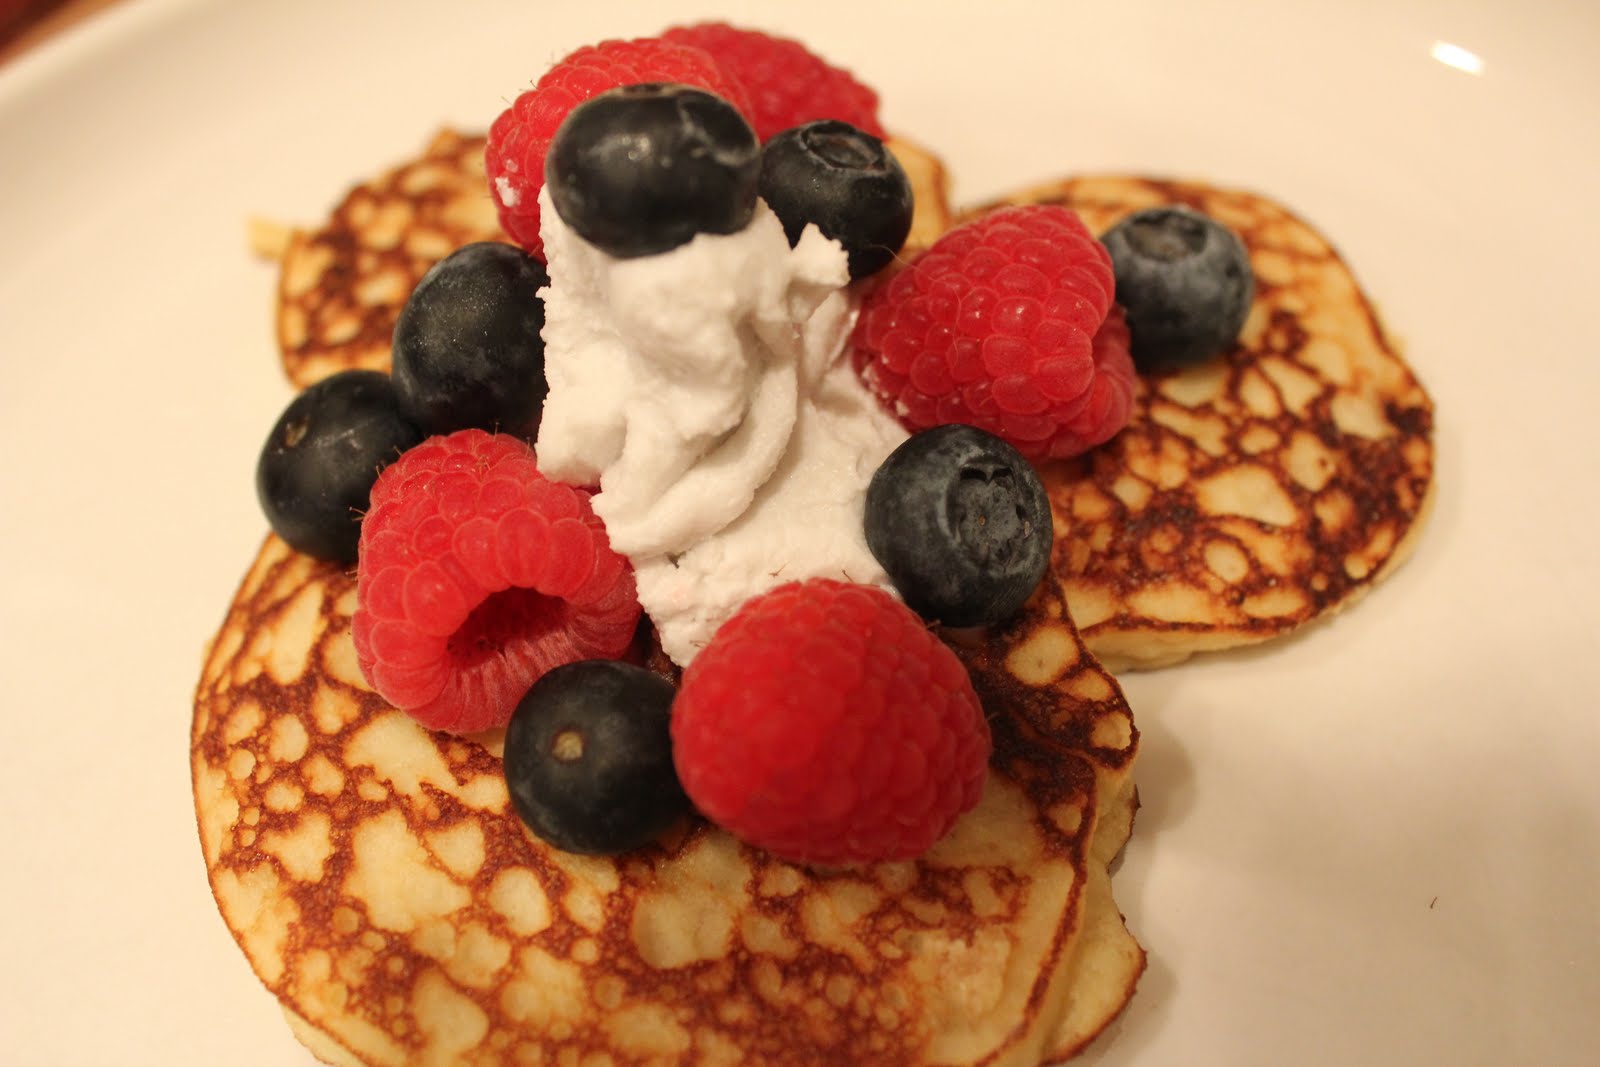
In a large bowl mix all the wet ingredients together. In a separate bowl mix the dry ingredients together. Don't skip this step. You don't want all the baking powder in one pancake! Now mix the dry into the wet. Do you have something that resembles yellow cement? Perfect! Start thinning the batter with water 1/4 cup at a time until you have it about the consistency of cake batter. I end up using 3/4 cup of water. Heat your pan with coconut oil. Now here's where it can get tricky so pay attention. Turn your flame down to low. Get out a large soup spoon and use that to spoon the batter into the pan. Use the back of the spoon to "swirl" the batter into a silver dollar sized pancake. If they get too big you will never be able to turn them and you will hate me forever. Be patient and let them cook almost all the way through on one side. Now ever so gently slide your spatula under the pancake. It takes a little practice and goes something like this: Slide, shimmy, slide, slide, quarter flip, cuss like a sailor, and giant flip! Inevitably your first couple will break, fold or land somewhere outside the pan. Stick with it! It gets easier and they are worth it. Plate them, top with a little solid coconut milk and fresh berries. These are pure heaven!


Enjoy!

Wednesday, July 20, 2011

Chicken Fried "Rice"


This dish is GOOOOD. When I say good, I mean the thank god it's cauliflower or I'd weigh 900 pounds, nobody better talk to me while my entire face is in this pan, I know I'm getting a third degree steam burn but I can't stop eating, just try and get in on this and you're gonna lose an arm kind of good... not to mention easy to make!


So I will get right to the point since my little ankle biters are a bit impatient these days.


What you'll need:


A head of cauliflower


5 green onions, chopped


1 zucchini, cubed small


1 large carrot, cubed small (or shredded carrot)


1 bell pepper, diced


This is what I happened to have left over in the frige. You can add any vegetable you like.


2 chicken breasts, cubed small


2 eggs


What you do:


Cut a head of cauliflower up and blanch it for 8 to 10 minutes. (blanch is a fancy word for boil it). Drain it and chop it fine... like rice.


I use a wok, but it's not necessary. Get a large fry pan out and melt a little coconut oil in it. Get the pan nice and hot and stir fry the chicken. Remove the chicken to a plate and keep warm. Quickly stir fry the raw veggies. Add the ginger powder, garlic powder and Tamari.When the veggies are cooked down, add the cauliflower and chicken. Crack the 2 eggs in and stir quickly to break the egg up and scramble it.


Taste and adjust the Tamari to your liking.


Enjoy!

Saturday, February 12, 2011

If you can open a package...you can make a salad


This recipe is a follow up for all of the members of ACF that could not attend my impromptu cooking lesson between the 4:30 and 5:30 class. I wanted to prove that you could possess absolutely NO cooking talent and still make a delicious meal in under 5 minutes. The salad seemed to be a hit and fall nicely into our paleo challenge(d) family! :)


So, if Trader Joe's is on your radar, you're in luck. All items for this salad are purchase there.


What you'll need:


1 bag shredded cabbage


1 package "Healthy 8" Chopped Veggies


1/2 a bag of sliced almonds (no salt)


1/2 cup dried cranberries


3 green onion, chopped


cooked chicken breast called "just chicken" (not pictured cuz I roasted my own chicken)


for the dressing:


1/3 cup olive oil


just under 1/3 cup apple cider vinegar


2 Tablespoons wheat free Tamari (fermented soy sauce)*


2 Tablespoons sesame oil


1/2 tsp garlic powder


2 tsp ground ginger


What you do:


Get out a giant bowl. Open the cabbage, veggies, almonds, cranberries and put them in the bowl. Chop the green onion, put it in the bowl. Open the chicken and chop it into bite size pieces and... you guessed it... put it in the bowl.


Mix the dressing ingredients together and pour over the salad. Toss and serve.


This salad will last in the fridge for 3 to 4 days without wilting.
* Yes, fermented soy sauce is okay.


Monday, January 3, 2011

Crispy Kale Chips


Sometimes, I need a snack. A crispy, slightly salty, chip-like wafer of crunchy goodness if you know what I mean. It has to be light and airy and full of flavor. Not just any chip will do. First of all, aside from sweet potato chips and perhaps a few cassava chips every now and then, chips of any kind are pretty much out of the question.


Until, of course, I came face to face with: The kale chip. Stay with me now! I forbid you to exit from this post until you at least commit to trying these. It just takes a couple of minutes... I promise.


So here's what you do (if you're me...)


Gather 25 diapers, a dozen pairs of underwear, 4 sippy cups, 3 dvds for the car, a portable potty, double stroller, 2 complete changes of clothes (and one for me), snacks for two, but not the same snack! Toddlers can't like the same snack, even if they are twins. Shove all of this into one diaper bag and pray that you don't need what's on the bottom of the bag. Throw that over your neck. Now grab your purse. WAIT! Double check that your wallet is actually in there this time. Car keys? Check! Now, it's herding time. Like a blue ribbon Australian Sheppard, herd your toddlers into the car trying ever so desperately not to lose one.


Diaper bag in, purse in, overly large and way too heavy double stroller in (thank you CrossFit), toddlers in. Buckle, buckle buckle!


"Me peepee!"............................... you've got to be kidding me......................


Unbuckle, unbuckle, unbuckle.............too late............. grab one pair of underwear and change of clothes...............use them before you leave the driveway.


Ok.... you can do this. Buckle, buckle, buckle and off we go.


Sing songs, listen to the DVD in the car for the 100th time knowing every word of every cartoon. Resist the urge to gouge your eyes out and beat your head against the steering wheel because the DVD is actually giving your ten minutes of peace while little eyes are glued to it with nary a blink.


Get to the store. Unbuckle, unbuckle, unbuckle. Toddlers in way to heavy stroller. Diaper bag over shoulder, purse in hand. Proceed into store and buy exactly $4.00 worth of kale. Leave. Repeat all steps above in the reverse order while asking yourself if this was really worth it. Answer: Yes.


Back at home and here's what you'll need:


One bunch of kale washed and dried


one clove of garlic, make it a big one


olive oil


sea salt


What you do:


Preheat your oven to broil or 500. Cut the tough center stem out of the kale and discard. Cut the leaves to about a standard "chip size". Finely chop the garlic or you can use garlic powder to taste if you'd rather. Get out a baking sheet and drizzle it with olive oil. Put the kale on top of the oil and lightly toss it in the oil with your hands. You will want to coat all the kale nicely without making it all drippy so start with less oil and add more if needed. Sprinkle with the garlic and sea salt.


Pop the tray into the oven and watch it carefully for 5 minutes. Since oven heats and times vary so greatly, be sure to stay close. You don't want burnt kale after all the work of going to the store. Half way through the cook time take a pair of tongs and toss the kale around to promote even cooking.


When the kale is done it will be light and crisp and still green. Remove it from the oven and let it cool... well, attempt to let it cool. I usually just stand in front of the molten hot tray while using my best elbow and hip check to keep my husband back and eat it right on the spot.


Enjoy!